Verify installation
Verify the MDAI Cluster via kubectl
Ensure your cluster is up and running.
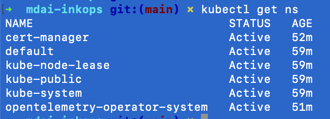
Verify namespaces
List out all namespaces
kubectl get ns
Expected output
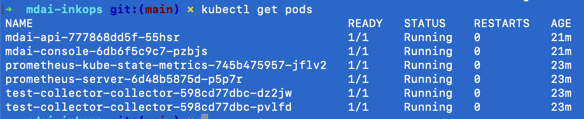
Verify pods
List out all pods in the default namespace.
kubectl get pods
Expected output
Your output for default configuration should be similar to:
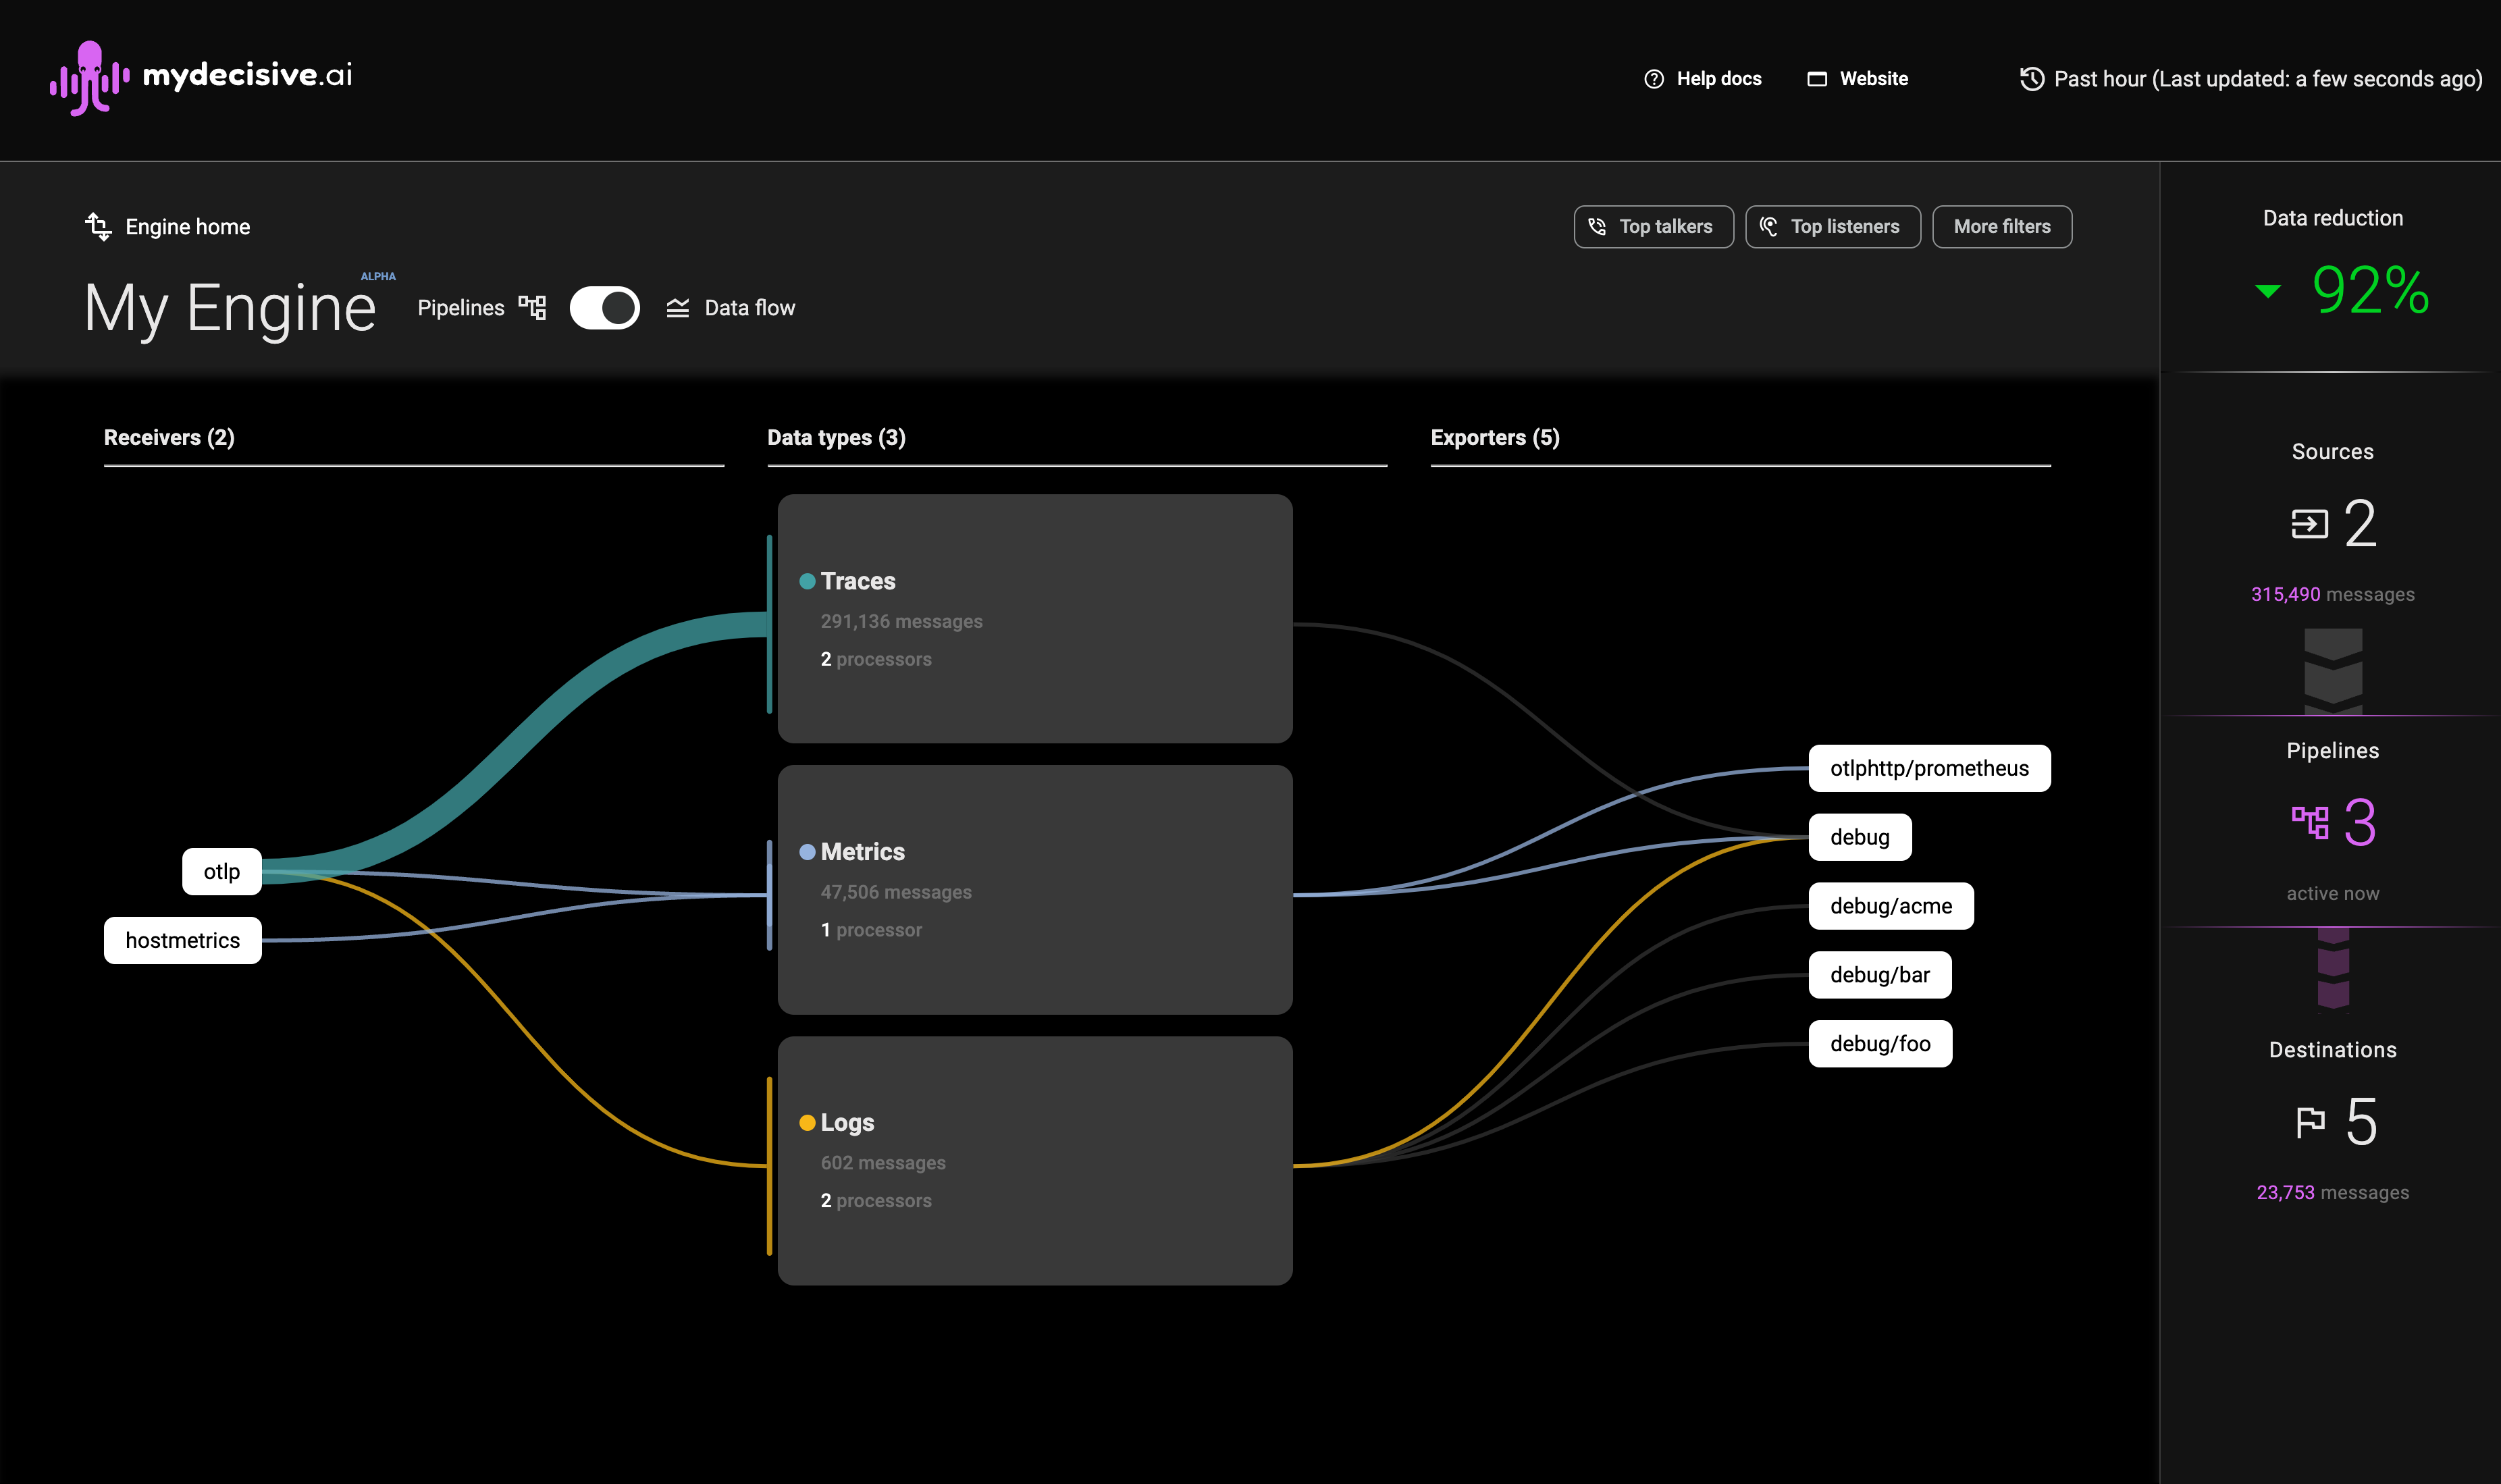
Verify the Console is up and running
Step 1: Navigate to your AWS EC2 Load Balancer in the AWS Console
Note: Replace
AWS_REGIONwith the region you deployed to.
https://AWS_REGION.console.aws.amazon.com/ec2/home?region=AWS_REGION#LoadBalancers
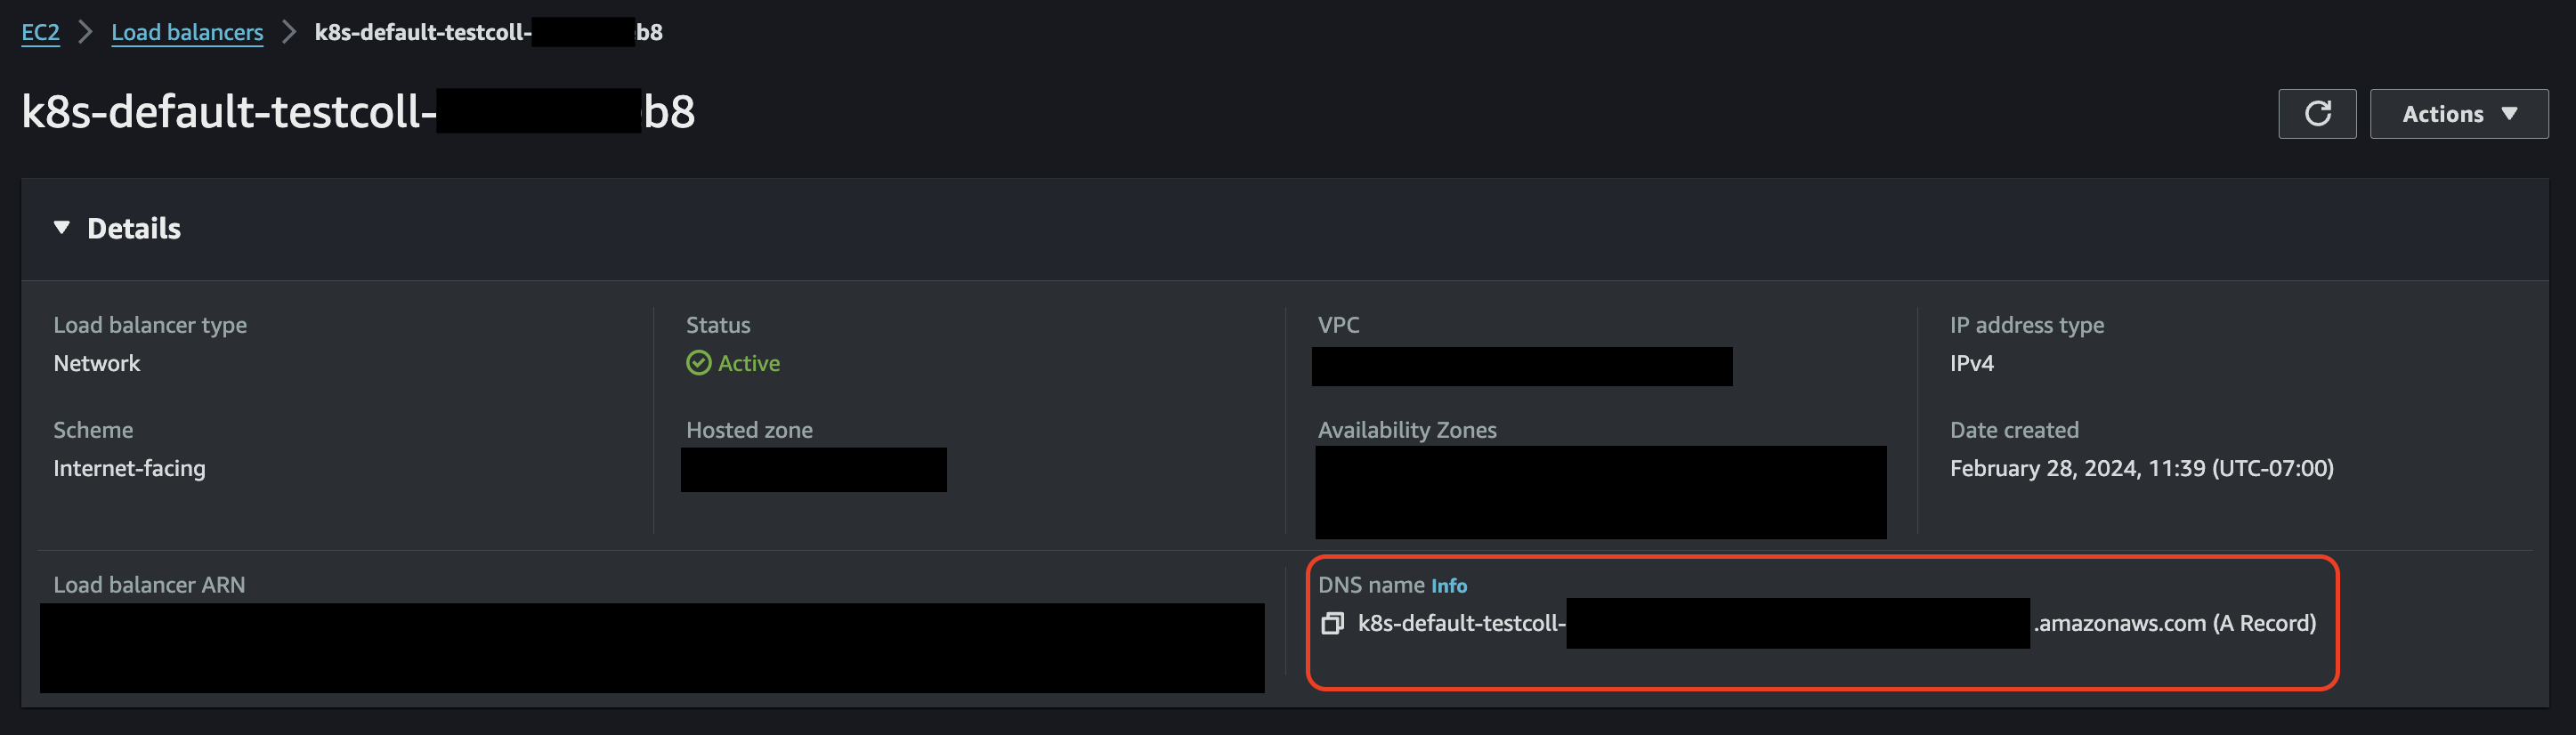
Step 2: Find the LB where the name is mdai-console
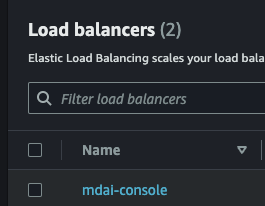
Step 3: Copy DNS Name from mdai-console LB
OPTIONAL: Use CNAME Record for Console Access
If you'd prefer to use a custom domain to access your MDAI Console (e.g., your-console.yourdomain.com), you can copy the Console Load Balancer Endpoint and create a CNAME record for you host provider (e.g., GoDaddy).
Once updated, you'll need to wait for the DNS mapping to resolve.
You may also need to add an SSL Cert to create a secure connection to your app using this mechanism.
Step 4: Navigate to the URL and view the console